When I think of growing a garden, I think of extra work, dirty hands, and sweat-soaked shirts. As you can tell, I’m slightly lazy and addicted to my couch. But as it turns out, growing a garden isn’t as hard as it sounds! Growing it from cuttings, which basically means cutting off a part of the parent plant and allowing it to regrow, is a much better, cheaper, and efficient option.
Plus, more plants in the garden in half the amount of time? That’s kinda like the black Friday plus a buy one get one free offer. Um, yes, please! There are various cuttings through which your plant growth can increase optimally. So find which one is suited to you so that you find the Anakin to your Padme. Then again, he sorta killed her, so that’s probably not the best comparison in gardening!
Types of Cuttings:
1. Hardwood Cuttings
It’s a low-cost method that uses the remaining cuttings of the previous month. They can also be planted in the fall or under a greenhouse.
2. Softwood Cuttings
Softwood cuttings are pretty easy to do, and you can usually cut ornamental shrubs or woody herbs to achieve this.
3. Semi-Ripe Cuttings
These cuttings are called semi-ripe because you snip the plant of at the root, just as its starting to become woody. This is actually a sign of ripening.
4. Stem Sections
A part of the stem is buried under the soil, and includes at least one, if not more, leaf nodes.
5. Root Sections
I feel like the title pretty much gives away the description! The root is buried beneath the soil, to produce more shoots.
6. Tip Cuttings
Again, self-explanatory. Cut the tips off the plant, and make sure this is done in the mornings. This is because they are stiff and have less water content at this time.
7. Heel Cuttings
Use a sharp knife to cut a shoot off the main stem from the main plant, which leaves a heel behind.
8. Basal Cuttings
Basal cuttings require cutting the roots off at the base, while still leaving a little behind. Otherwise, to take it a step further, cut the roots out as well.
9. Leaf Cutting
This method sounds like something out of a sci-fi movie, to be honest. Cut the leaf so that each section contains a vein, and plant these sections in the soil with the vein pointing downwards.
Helping the Rooting Process:
- Rooting Medium: Contrary to what you might think, you’ll have to use a soilless mixture. So don’t go out and buy the first bag of fertilizer that you see. The mixture you use has to be well-drained, slightly moist, and allow your plant to be highly oxygenated.
- Preparing the cuttings: Choose one of the nine methods above, according to the thickness of the main stem, and make sure to use a sharp pair of scissors while doing so.
- Planting cuttings: Before planting the cuttings, make sure that you remove the lower levels of leaves so that you can plant the stem cleanly in the soil
- Regular Misting and Watering: Just because it’s cutting, doesn’t mean it doesn’t need care and watering. It came from a plant, which means it needs to be treated with similar needs.
1. Mint
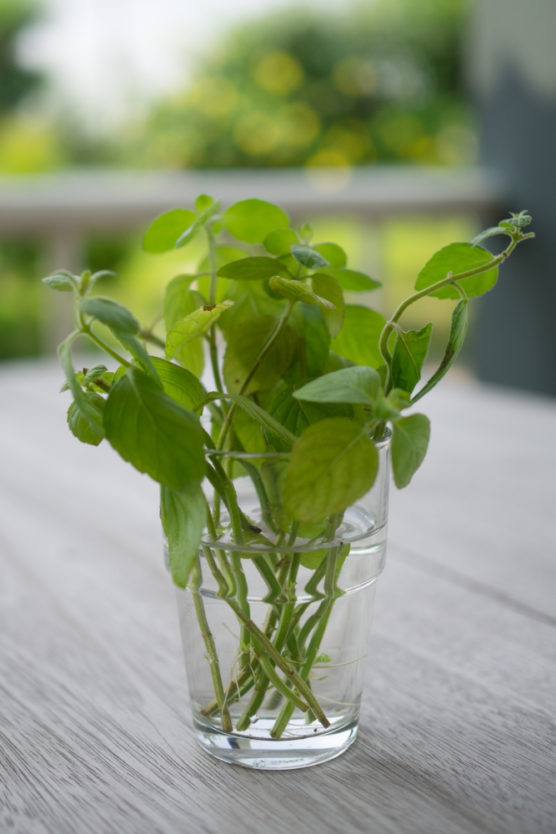
Mint has always been one of those photogenic plants. Kind of like the child actor that got acting gigs right from the diaper age. Mint is usually cut at the root, and then grown in water. Bet those mason jars come in handy now! Wait for a couple of weeks for the mint to really grow, before using it anywhere.
2. Sage
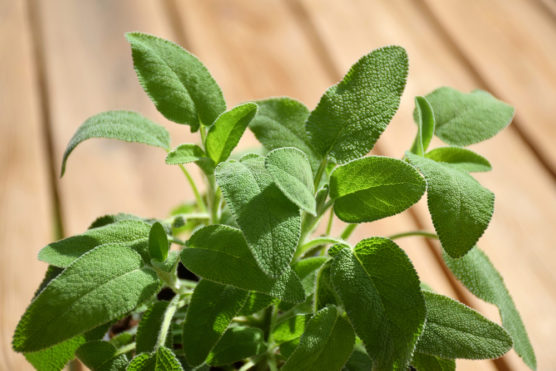
Using a sharp knife, or some sort of sharp object, cut off a shoot about 6 centimeters below the crown of the leaf. Make sure that the lower layers of the shoot don’t have leaves. If they do, off with their heads! Plant this in composted, well-drained soil.
3. Rosemary
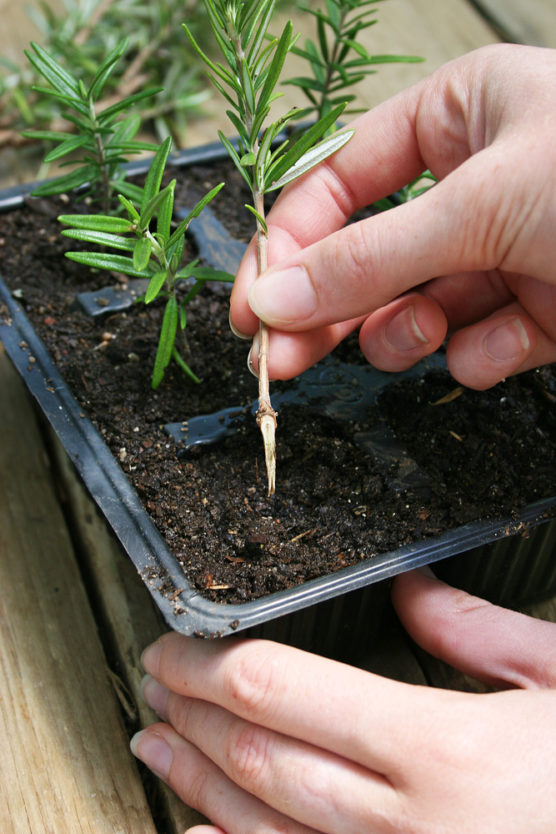
Rosemary will very stealthily, yet passive-aggressively steal the show by taking over your garden. So if you’re looking for a herb with a high growth rate in a short amount of time, you’ve found your golden egg.
Make sure to use basal cuttings on the rosemary, and plant it in the soil in the fall. Also keep in mind that greener the shoots are, the more likely they are to grow.
4. Thyme
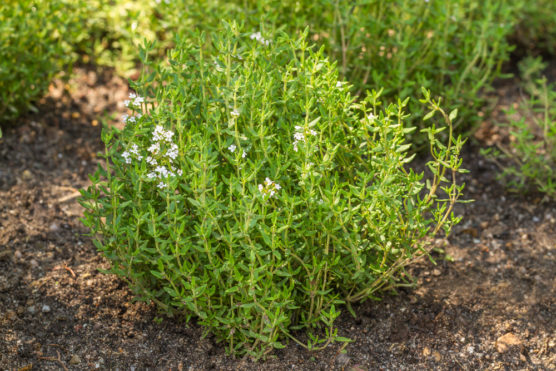
Start with the most common step: cutting off the lower layers of leaves for a clean shoot. Keep these clean shoot in well-aerated, well-drained soil in a shady area. Watch it grow, and may the force be with you.
5. Basil
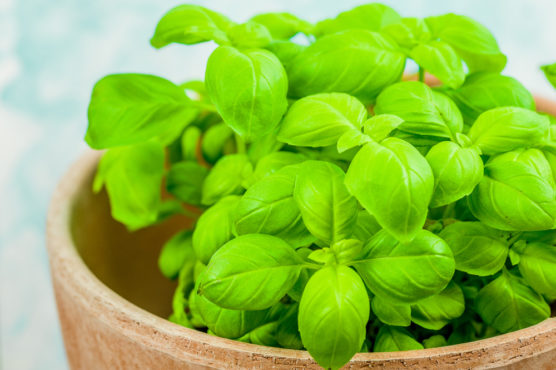
Basil cuttings work better when the cuttings are from younger plants. Clear out as much of the lower level leaves that you can, and disinfect them. Make sure the disinfectant isn’t too concentrated in chlorine, as this can affect the soil.
Put the cuttings in a mason jar with good potting soil, in a partially sunny area. Think of it as maintaining a pool. Because the water has to be changed every 2-3 weeks!
6. Oregano
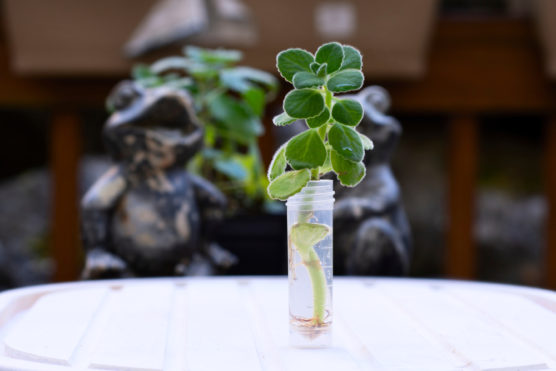
By far one of the best spices to work with while making pastas, lasagna, or (trust me on this) even over ramen. It sounds weird, but tastes great! Once again, disinfect the plant, and cut off the lower ring of leaves. Put the cuttings in a jar away from direct sunlight. Partial sunlight should work just fine.
7. Lavender
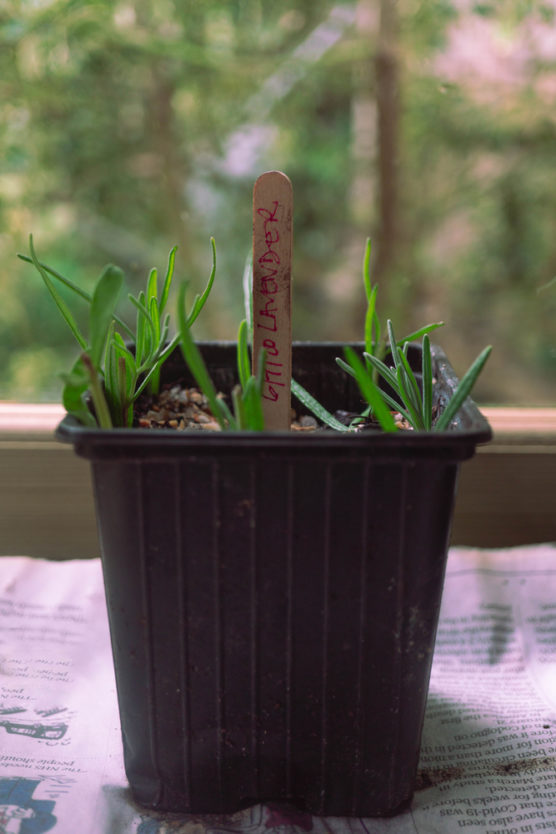
If you’re wondering what the heck your new hobby should be during the summer, plant some lavenders. They take about a month, so I’m pretty sure you’ll be set.
While removing shoots from the plant, make sure you strip it while it retains a heel. This is treated as semi-hardwood cuttings, so make sure the roots of the cuttings are dipped in suitable hormone powder. Weird but necessary.
8. Horseradish
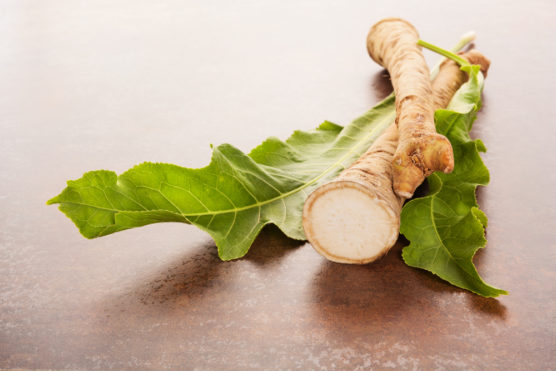
One plant is more than enough, so make sure to make it a root cutting and plant it 2 inches beneath the soil. If you really want to go all out, and plant more than one, plant them about 30 inches apart.
9. Geraniums
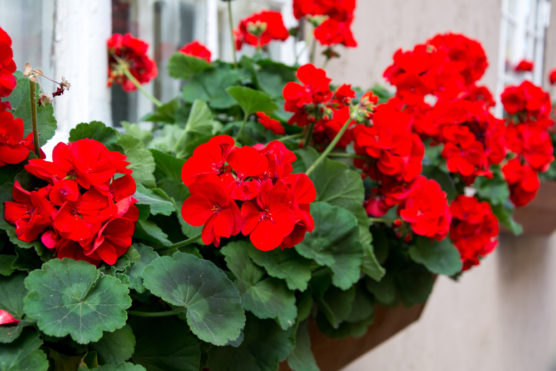
Who doesn’t love geraniums? Cutting are formed via root cuttings, and must be potted with well-drained, slightly moist soil. Make sure it receives enough sunlight, but not directly. Because, the extra sun is a wonderful tan for humans, but plant burn for cuttings.
10. Hydrangeas
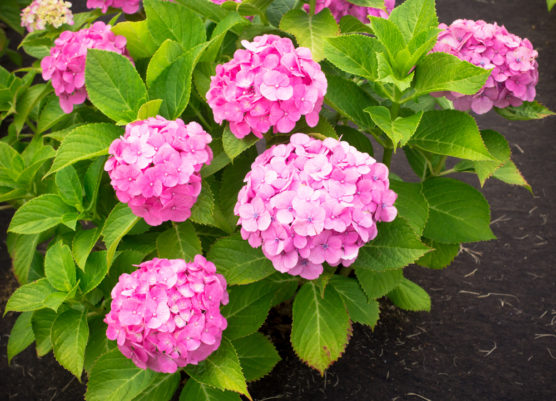
This has pretty much the whole pink/blue spectrum covered in terms of color. Just cut off about 4 inches from the tip of the plant and place it in a good quality potting soil. Water well, and voila!
11. Fuchsia
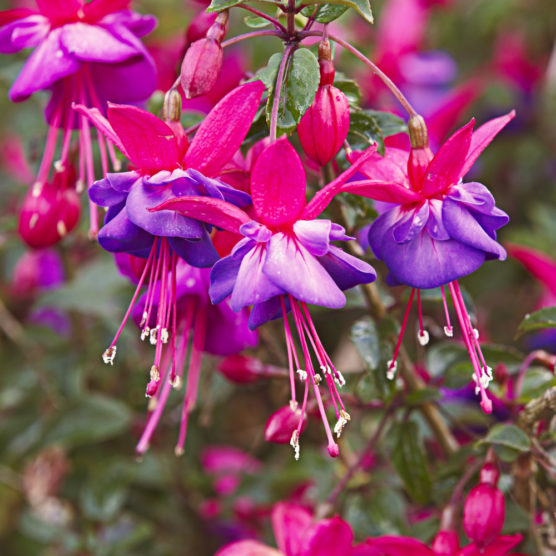
Similar to other cuttings, remove the lower layer of leaves. Makes sure to plant it in peat, or moss, and that it’s well-drained and oxygenated. It’s optional to dip it in root hormone, but you don’t have to run out and buy it if you don’t have it.
12. Jade Plant
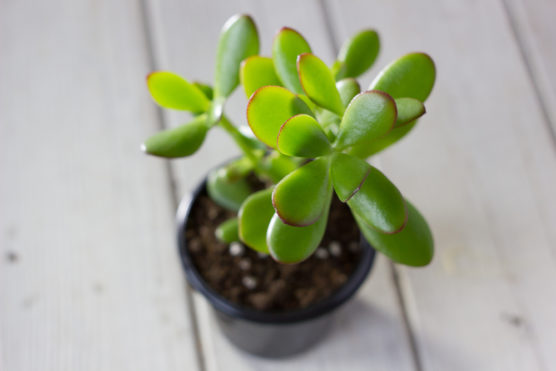
When planting a jade plant cutting, make sure not to water it too much, so that it is just damp enough. Don’t overwater it into oblivion; this is a more common mistake than you’d think! It should be potted in a mixture composed of half soil and half perlite.
13. Begonia
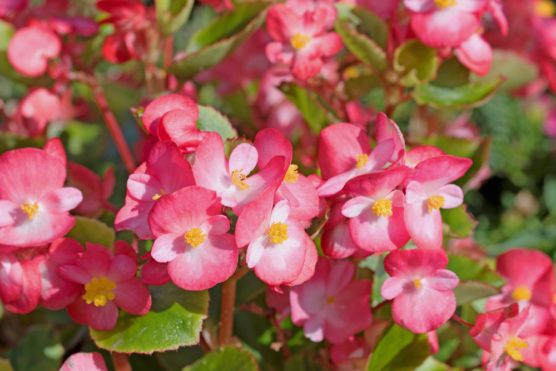
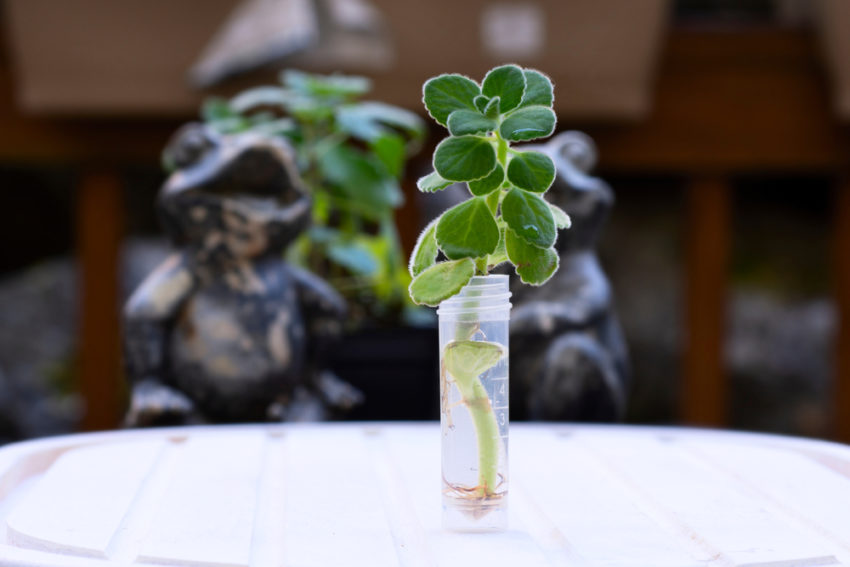
Begonias can also grow in water, similar to mint. Clip the leaves at a 45-degree angle and keep them in partial sunlight in a mason jar of water.
14. Azalea
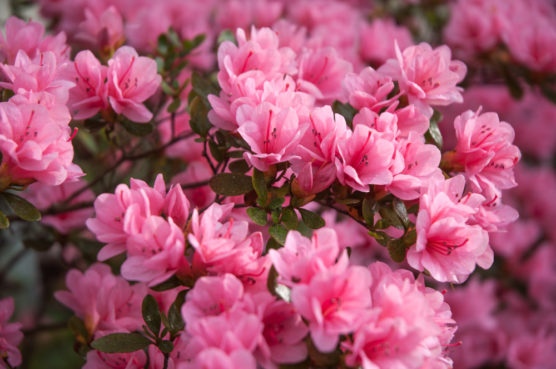
Obtain the cuttings by cutting off the leaves right at the tip, and getting rid of the lower layer of leaves. Dip it root hormone and place one-third of the cutting in the soil you choose.
15. Aster
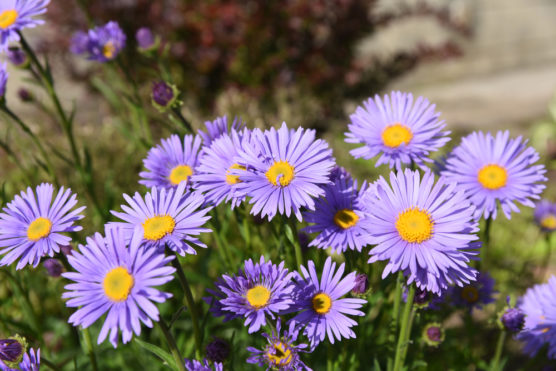
Take about 2-4 inch cuttings from the root of the asters, and stick them in loose potting soil. Make sure you dip it in root hormone for proper growth. Easy peasy garden squeezy!
16. Salvia
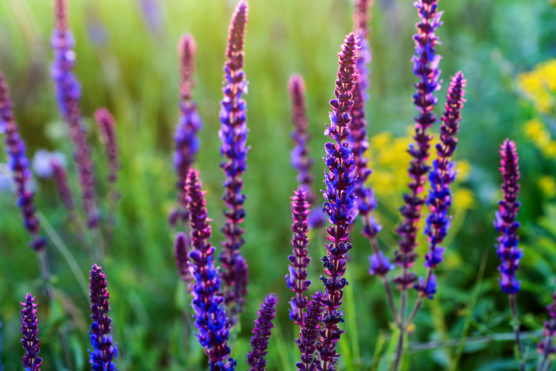
Cut about 2- 8 inches off the stem, and clean out the bottom layer of leaves. (What else is new?) You can get these cuttings during any season, so you don’t have to wait for the seasons like other cuttings!
17. Rose
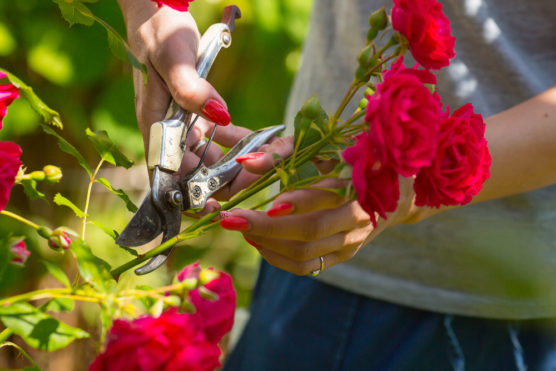
Choose long, and healthy stems to take cuttings from. Be careful of thorns! We don’t need a reenactment of Sleeping Beauty here. Dip them in root hormone, as usual, and pot them in loose and well-drained soil.
18. Chrysanthemum
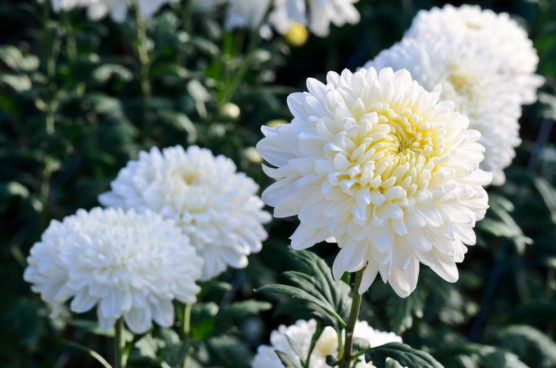
Cut the bottom of the stem, and make sure the cuttings are at least 4-8 inches long. Plant them in a pot of perlite, and make sure it is watered regularly.
19. Butterfly Bush
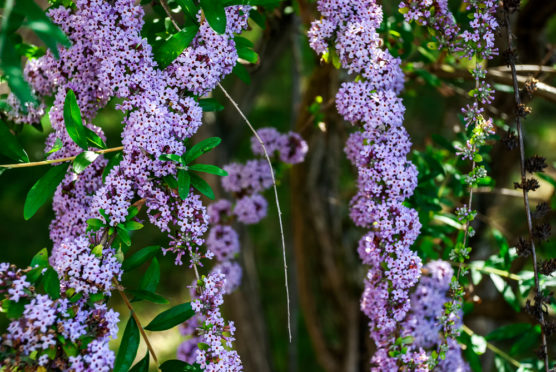
Pinch off the stem, and take care to make sure that the cuttings are at least 3 inches long. Keep in mind, pinching the stem makes for a bushier, thicker plant as opposed to cutting the stem.
20. Dahlia
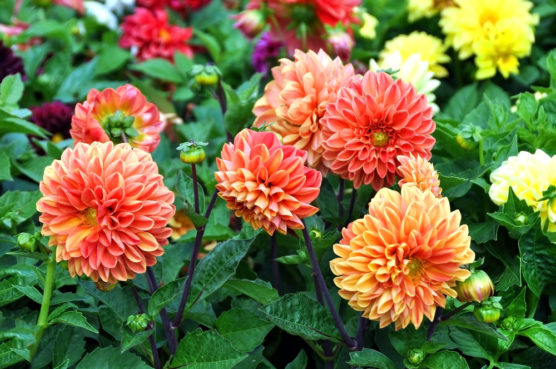
Cut the stem away from the tuber, while making sure that the stem you have chosen is green, strong, and mature. Take about three of these cuttings, and pot them in well-composted soil.
21. Gardenia
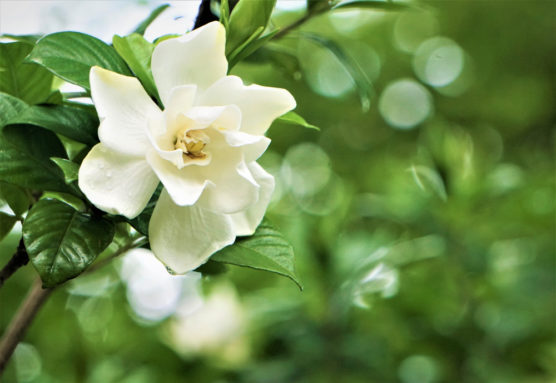
Take the cuttings from the tip of the branch, and remove the lower level of leaves. It’s crucial that the cuttings remain in highly humid conditions before full growth. It can be done using a milk jug without a bottom, or a plastic bag to cover the pot.
As you can see, cuttings are pretty easy to obtain and even easier to maintain as the first step to more plants. Lastly, if you’re scared that you’re gonna kill your plants, just remember what J.C.Raulston said. “If you’re not killing plants, you are not really stretching yourself as a gardener.
